Introduction
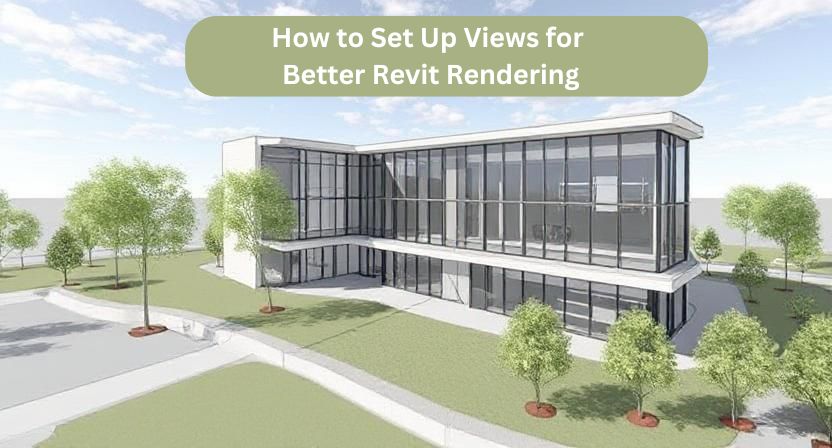
Revit is a powerful tool for architectural visualization, but achieving high-quality rendering requires proper view setup. Whether you are working on presentations, client proposals, or marketing materials, fine-tuning your views will significantly enhance your final render. In this guide, we will explore the essential steps to optimize your Revit rendering for stunning visual results.
1. Choose the Right View Type
Revit offers different view types, such as perspective and orthographic. Perspective views are ideal for realistic presentations, while orthographic views work well for technical documentation. Choose a perspective view to add depth and realism to your rendering.
2. Set the Camera Angle
The placement of the camera plays a crucial role in capturing the best composition. Follow these tips:
- Position the camera at eye level (around 5-6 feet above the ground) for natural-looking renders.
- Use the Focal Length setting to adjust the field of view and avoid distortion.
- Experiment with different angles to highlight key architectural features.
3. Adjust Lighting for Realism
Lighting is one of the most critical aspects of rendering. Follow these best practices:
- Use natural lighting by setting the correct geographic location and sun settings.
- Add artificial lighting to enhance interiors, such as spotlights and ambient lighting.
- Enable global illumination and ambient occlusion for a more realistic look.
4. Enhance Materials and Textures
Realistic materials improve rendering quality. Consider these factors:
- Use high-resolution textures for walls, floors, and furniture.
- Adjust reflectivity and roughness for accurate material appearance.
- Apply bump and displacement maps to add surface detail.
5. Optimize Render Settings
Before finalizing your render, tweak your settings for the best balance between quality and performance:
- Increase the render resolution for sharper images.
- Choose High or Best quality settings for a professional finish.
- Enable anti-aliasing to smooth out edges and eliminate jagged lines.
6. Use Post-Processing for Final Touches
After rendering, enhance your images with post-processing techniques:
- Adjust brightness and contrast for a balanced look.
- Apply slight color corrections for a more vibrant image.
- Use tools like Photoshop or Lumion for additional refinements.
Conclusion
Setting up views correctly in Revit can significantly improve the quality of your rendering. By following these best practices, you can create visually appealing and professional-grade images. At Qaxles Technologies, we specialize in engineering design and digital solutions, ensuring that your Revit rendering needs are met with precision and excellence. Contact us to learn more about how we can help elevate your visualization projects.