If you’re new to PTC Creo, you’re about to explore one of the most powerful and widely used 3D CAD modeling tools in the engineering world. Whether you’re a beginner looking to design your first component or an engineer transitioning from another software, Creo makes product design both intuitive and efficient.
In this guide, we’ll walk through the easy steps to start modeling in PTC Creo from setup to creating your first 3D part.
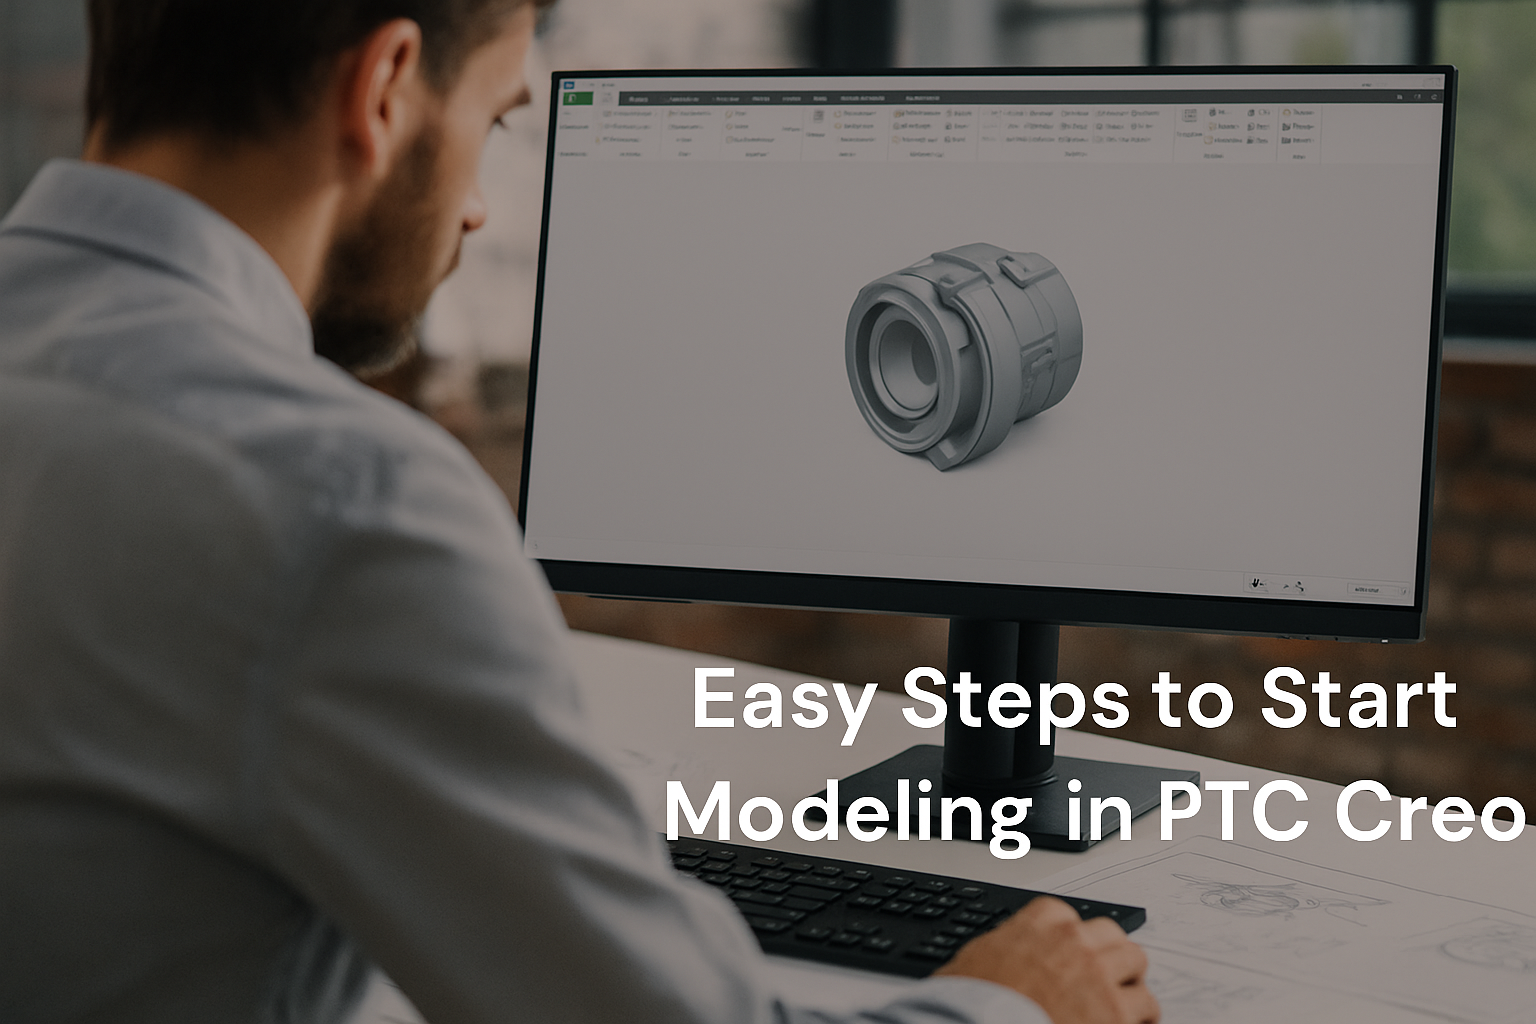
Step 1: Set Up Your Workspace
Before you dive into modeling, it’s important to get comfortable with the Creo interface.
When you open PTC Creo, you’ll notice a clean ribbon-based toolbar similar to many CAD applications. The home tab gives you access to common features like creating a new part, assembly, or drawing.
- Go to File → New → Part.
- Choose a name for your model and click OK.
- Familiarize yourself with the model tree (on the left) and the graphics area (in the center).
These are where you’ll manage your geometry and see your design evolve.
Step 2: Create the First Sketch
Every 3D model in Creo begins with a 2D sketch.
Here’s how to start:
- Click on the Sketch icon in the toolbar.
- Select a reference plane (Front, Top, or Right).
- Use the Line, Rectangle, Circle, and Dimension tools to define your shape.
- Ensure your sketch is fully constrained (meaning all dimensions and relationships are defined).
Once done, click OK or Exit Sketch now you’re ready to turn your sketch into a 3D model.
Step 3: Extrude the Sketch
To create your first 3D solid:
- Go to the Model tab.
- Select Extrude.
- Choose the sketch you just created.
- Enter the desired extrusion depth in the dashboard or drag the arrow in the graphics area.
Click ✔ OK to complete the feature.
You now have your very first 3D solid model in Creo!
Step 4: Add Features (Fillet, Hole, Chamfer)
Once your base shape is ready, enhance it with features that give your part realistic details:
- Fillet: Smoothens sharp edges.
- Chamfer: Adds angled edges for machining.
- Hole: Creates standard or custom-sized holes.
Each feature can be accessed from the Model tab and applied to the surfaces or edges of your 3D part.
Step 5: Assemble Components
If you’re working on a multi-part product, Creo makes assembly creation simple:
- Create a new Assembly file.
- Use the Assemble command to bring individual parts into the workspace.
- Apply constraints like Mate, Align, or Insert to position them accurately.
This step helps visualize how each component interacts within the overall design.
Step 6: Generate 2D Drawings
Once your 3D model or assembly is complete, you can generate precise 2D drawings for manufacturing or documentation.
- Go to File → New → Drawing.
- Choose your part or assembly.
- Select standard views (Front, Top, Isometric) and add dimensions or notes.
These drawings are fully associative, meaning any model change will automatically update the drawing.
Step 7: Save and Export
Finally, save your work regularly and export your design for collaboration or manufacturing.
Creo supports multiple export formats including .STEP, .IGES, .STL, and .DXF, making it easy to share your designs across platforms.
Final Thoughts
Starting with PTC Creo may feel overwhelming at first, but once you understand the basic flow sketch, extrude, refine, assemble, and document it becomes an enjoyable design experience. Creo’s powerful parametric modeling tools allow engineers to create precise and production-ready models in less time.
If you’re looking to bring your 3D designs to life or need professional assistance with mechanical engineering and product modeling, Qaxles Technologies can help.
We specialize in high-quality CAD modeling, engineering design, and digitalization services using tools like PTC Creo, SolidWorks, and AutoCAD, helping global clients accelerate their product development journey.