When it comes to creating realistic 3D models, SketchUp Textures play a huge role. Whether you’re an architect designing a modern villa or an interior designer visualizing a living room, the right textures can dramatically enhance the clarity, realism, and emotional impact of your design.
In this complete guide, let’s explore everything you need to know about SketchUp textures—what they are, where to find them, how to use them, and how to make your models look photorealistic.
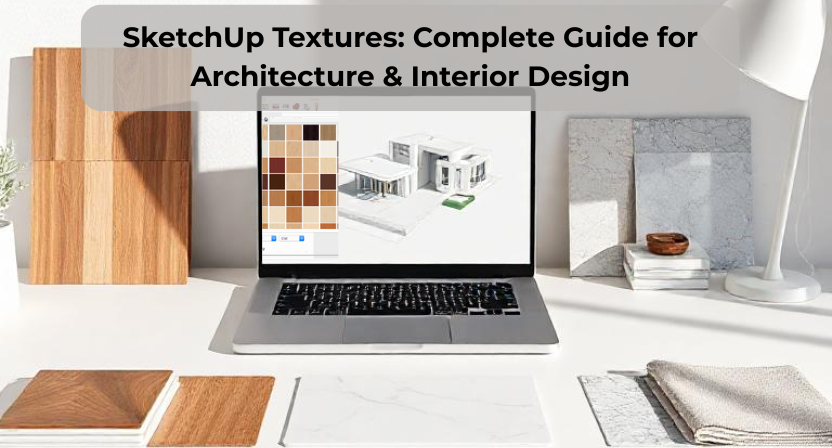
What Are SketchUp Textures?
Textures in SketchUp are image-based materials applied to the surfaces of your 3D models.
They help represent real-world finishes such as:
- Wood
- Marble
- Concrete
- Tiles
- Fabrics
- Metals
- Glass
- Bricks
Using accurate textures helps your client instantly understand material quality and design intent without needing technical explanations. It also elevates your renders, making them more appealing and professional.
Why SketchUp Textures Are Important
1. Improves Realism
Textures create visual depth and make even simple models look life-like.
2. Helps in Material Decision-Making
Interior designers and clients can visualize how real materials will look in space.
3. Enhances Lighting and Rendering Output
High-quality textures interact well with render engines like V-Ray, Enscape, Lumion, or D5 Render.
4. Saves Time in Presentations
Good textures reduce explanation time because the visuals speak for themselves.
Types of SketchUp Textures
1. Default SketchUp Textures
Good for basic modelling but limited in realism.
2. Custom Textures
You can import your own PNG/JPG material images.
3. PBR Textures (Physically Based Rendering)
Most preferred for realistic rendering.
A PBR texture set includes:
- Diffuse / Color Map
- Normal Map
- Roughness Map
- Displacement Map
- Ambient Occlusion Map
These maps help your material look 3D, even without using extra geometry.
Where to Download High-Quality SketchUp Textures
Here are some trusted sources used by professional designers:
- SketchUp Texture Club
- Textures.com
- AmbientCG
- CGBookcase
- Poliigon
- Quixel Megascans
- 3D Warehouse (Community Materials)
Make sure to choose seamless, high-resolution textures to avoid pixelation.
How to Apply Textures in SketchUp (Step-by-Step)
1. Open Materials Panel
Go to:
Window → Materials
2. Select a Texture
Choose from SketchUp presets or import your own image.
Click “Create Material” → upload the texture file.
3. Adjust the Scale
Always match your texture to real-world dimensions.
For example:
- Wood veneer = 1200 mm
- Tile = 600 × 600 mm
- Brick = 190 × 90 mm
4. Apply Texture to Surfaces
Use the Paint Bucket (B) tool.
5. Fix Stretching / Distorted Textures
Right-click → Texture → Position
Move, scale, rotate, or skew the texture to fit perfectly.
Tips to Make SketchUp Textures Look More Realistic
Use High-Resolution Images
Avoid blurry or pixelated surfaces.
Add Bump & Normal Maps in V-Ray or Enscape
This adds depth and shadow detail.
Keep Material Sizes Realistic
A wood texture that looks too big or too small can ruin realism.
Use HDRI Lighting During Rendering
Textures look more accurate under natural light-based HDRIs.
Organize Your Material Library
Create folders for wood, tiles, stone, fabrics, metals, etc.
Common Mistakes to Avoid
- Using low-quality or stretched textures
- Overusing glossy or reflective surfaces
- Mixing unrealistic color tones
- Using textures that do not match the design style
- Forgetting to set correct scale
Fixing these simple issues can instantly upgrade your presentation quality.
Conclusion
Mastering SketchUp Textures is essential for any architecture or interior design professional who wants to deliver clean, realistic, and impactful visual presentations. With the right material choices, proper scaling, and clear lighting, your 3D models can match real-life expectations and help clients make confident decisions.
If you need help creating professional SketchUp models, realistic textures, or detailed 3D visualizations, Qaxles Technologies provides complete SketchUp services for architecture, interior design, and product visualization. Our team ensures high-quality renders, precise modelling, and reliable delivery for global clients.