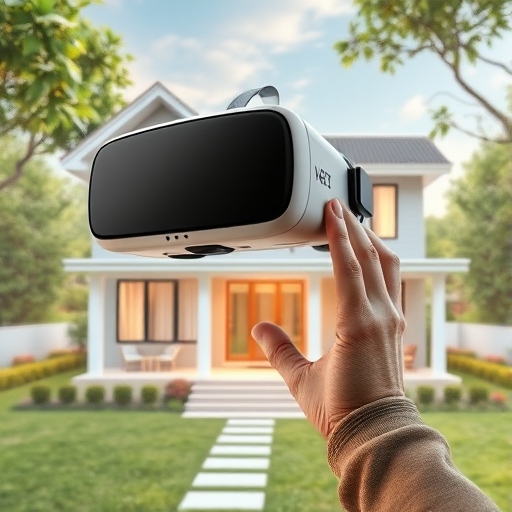
Virtual Reality (VR) has transformed the way architects, designers, and engineers interact with their projects. By integrating VR into your Revit workflow, you can create immersive experiences that allow clients and stakeholders to explore designs in real-time. This guide walks you through the process of creating VR experiences using Revit.
1. Prepare Your Revit Model
Before jumping into VR, ensure your Revit model is clean and well-organized:
- Optimize Model Geometry: Simplify unnecessary details to improve performance. Avoid overloading the model with excessive furniture, fixtures, or intricate geometry unless essential.
- Check Materials and Textures: Assign appropriate materials to all surfaces. Use high-resolution textures for better visual quality in VR, but keep file sizes manageable.
- Verify Lighting Settings: Add light sources (natural and artificial) to create realistic illumination. Pay attention to light placement for enhancing the VR experience.
2. Export the Model
Revit does not natively support VR; you’ll need to export your model to a compatible format for VR platforms.
- Export to FBX: Use Revit’s FBX export option to transfer geometry, materials, and lighting.
- Ensure Compatibility: If your target platform or VR software requires a specific format (like OBJ or DAE), use a third-party converter or plugin.
3. Import the Model into a VR Platform
Several VR platforms and software support Revit models. Choose one that aligns with your project’s goals:
- Autodesk Revit Live: A native solution that simplifies the process of turning Revit models into VR experiences.
- Enscape: A real-time rendering and VR plugin for Revit that allows instant VR visualization.
- Unreal Engine or Unity: For advanced VR experiences with interactive elements, these platforms provide robust tools for importing and enhancing Revit models.
4. Optimize for VR Performance
To ensure a smooth VR experience, optimize the model for performance:
- Reduce Polygon Count: Simplify complex geometries to minimize rendering load.
- Adjust Texture Resolutions: Use lower-resolution textures where detail is less critical.
- Cull Hidden Elements: Remove elements that will not be visible in the VR environment.
5. Test the VR Experience
Once your model is ready, test it in VR:
- Set Up VR Hardware: Use a VR headset like Oculus Rift, HTC Vive, or Meta Quest. Ensure your computer meets the hardware requirements.
- Navigate the Environment: Explore the VR model to identify any issues, such as misplaced objects, poor lighting, or performance hiccups.
- Gather Feedback: Share the VR experience with team members or stakeholders to gather input for further refinement.
6. Enhance the Experience
Take your VR environment to the next level:
- Add Interactivity: Incorporate features like doors that open, lights that switch on/off, or annotations that provide additional information.
- Refine Lighting and Shadows: Use advanced rendering techniques to enhance realism.
- Include Ambient Sounds: Adding sound effects can make the VR experience more immersive.
7. Share the VR Experience
Make your VR model accessible to clients and stakeholders:
- Cloud Sharing: Platforms like Enscape and Autodesk allow for web-based VR viewing.
- Standalone Executables: For platforms like Unity or Unreal Engine, create a standalone VR app that clients can run on their systems.
- Mobile VR: Optimize for mobile VR headsets like Google Cardboard for broader accessibility.
Conclusion
Integrating VR into your Revit workflow opens up new possibilities for design visualization and client collaboration. By following these steps, you can create compelling VR experiences that bring your architectural visions to life. With continued advancements in technology, VR is becoming an indispensable tool for modern design professionals.
Start experimenting today and transform how you present your projects!

